Caught a glimpse of some peonies in my back yard after an early morning rain this past spring.
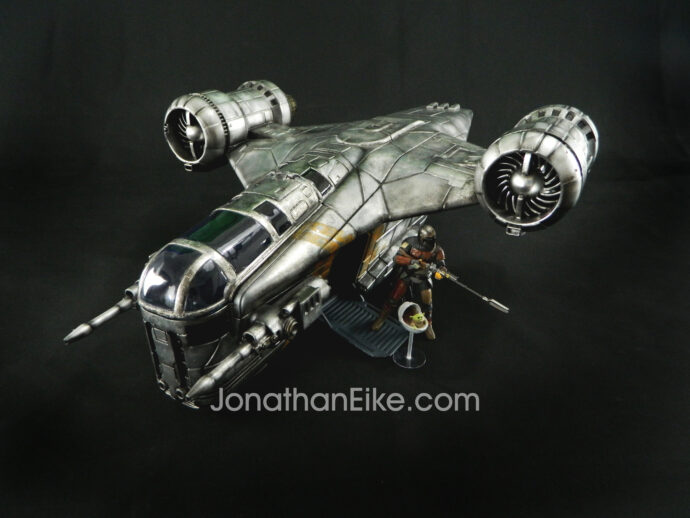
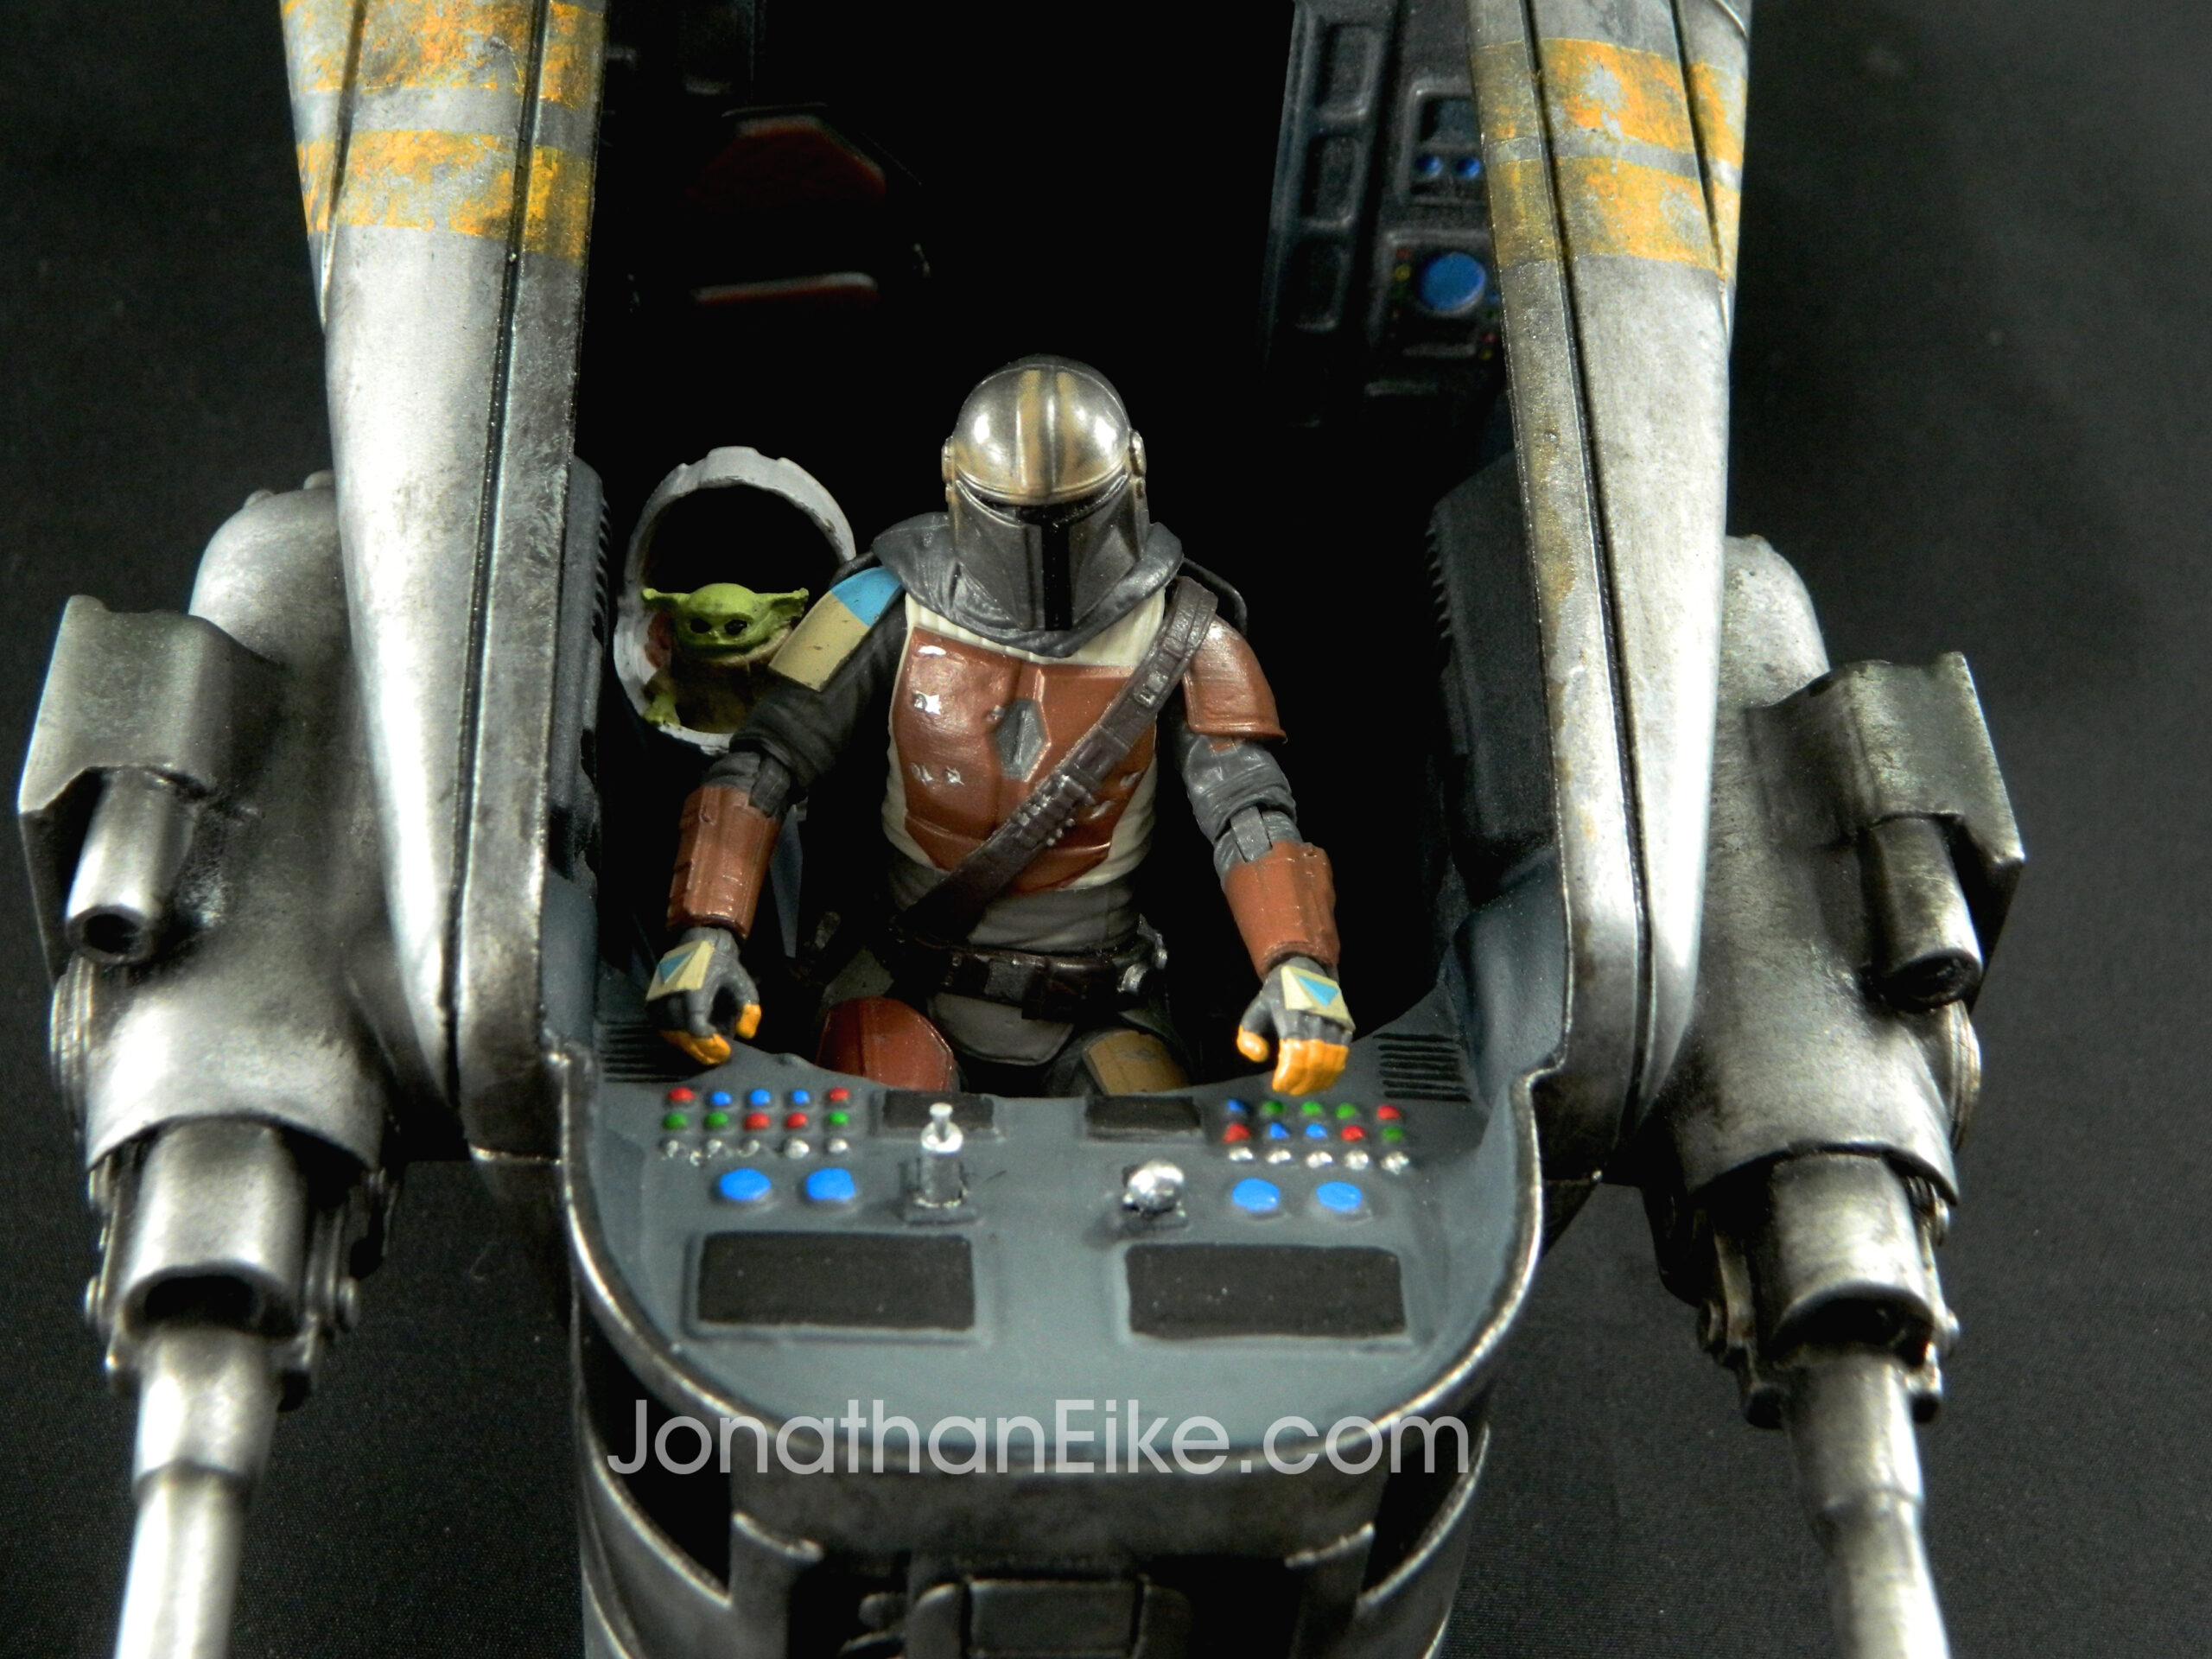
Kenner-styled Razor Crest
Back somewhere between the first and second seasons and before the announcement of Hasbro’s Haslab Razor Crest; I set out to build an action figure-scaled replica. Came across some files on Thingiverse and started printing away. The title of the file claims to be screen accurate. I wouldn’t go that far, but it is an ok representation that one could say is on par of the style of the Kenner toys of the 1980s. Anyway, at the time, it was one of the better options.
Knowing it was going to be trickier, I printed the parts in ABS so that I could solvent weld it together for better strength. ABS also meant that sanding and filling would be much quicker. For the windows, I cut out the solid blanks and made up some bucks for vacuum forming. I spent more time than usual with the primer coat as I wanted as smooth as possible base to apply the metalizer paint I was going to use. In the end I used a number of metalizers and bare metal foil to get various shades for more interest. I then masked off my best approximation of the ship’s markings and roughly applied the color, making sure to not completely fill it all in. Final weathering was applied on top and then called that part of the build done. To finish everything off, I modeled up a simple cargo net and printed it in TPU. Also printed an appropriately scale blurrg and Grogu in his pram.
Overall, I am mostly happy how it all turned out. It satisfied my desire to build something within the Mandalorian story, but I am more than excited for my Haslab Razor Crest to arrive!
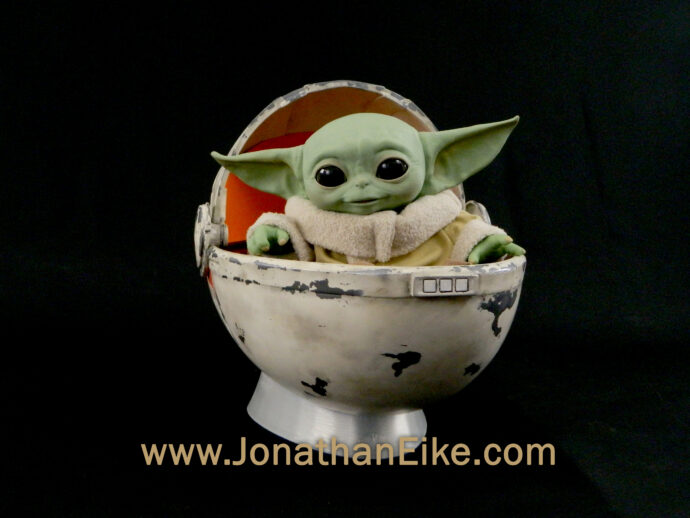
Grogu’s Hover Pram
It has been no secret that I have been loving everything about The Mandalorian series. So picking up the seven or so inch interactive Grogu was a no-brainer. If you haven’t checked out one of these things, it’s pretty amazing. The motors for the movements are super quiet and the sounds and motions are as delightful as he is in the series. I wanted to better display him and figured the hover pram was appropriate. At the time, roughly just before season 2, there wasn’t a whole lot of files floating around. I considered modelling my own until I came across some files on Etsy by Jartog’s Armory. Based on the season 1, first appearance pram, it wasn’t 100% accurate, but was close enough for my purposes. The original file is supposed to be 1:1 scale, but my little Grogu was smaller. Not knowing by how much, I just ‘winged it’ to something that looked good. I wasn’t concerned in making it perfectly to scale as it was an over-glorified display stand.
I printed up the scaled down parts in PLA on my printer and bonded the parts with 3D Gloop. That stuff works great, but man-o-man, does it have a short shelf life. Bonding strength is good and it does help with smoothing. But in hindsight, considering how little stress this prop replica is getting, CA glue or epoxy would have been as good and much cheaper option. After all the necessary sanding and filling was done, I primed and painted a metallic paint. In studying whatever reference material I could get my hands on, it was my opinion that the paint on the actual prop was actually chipped off. I dabbed on some petroleum jelly in the areas I wanted to chip off later. I have never tried this technique before, but was pleased at the results it gave me. I further damaged and weathered it with paints and pastels. There looked like there was some kind of orange padding in the lid that was not included in the print files. I simply made a pattern and cut it out of some EVA foam. To finish off the display, I modeled up a base in ZBrush for it to securely rest on.
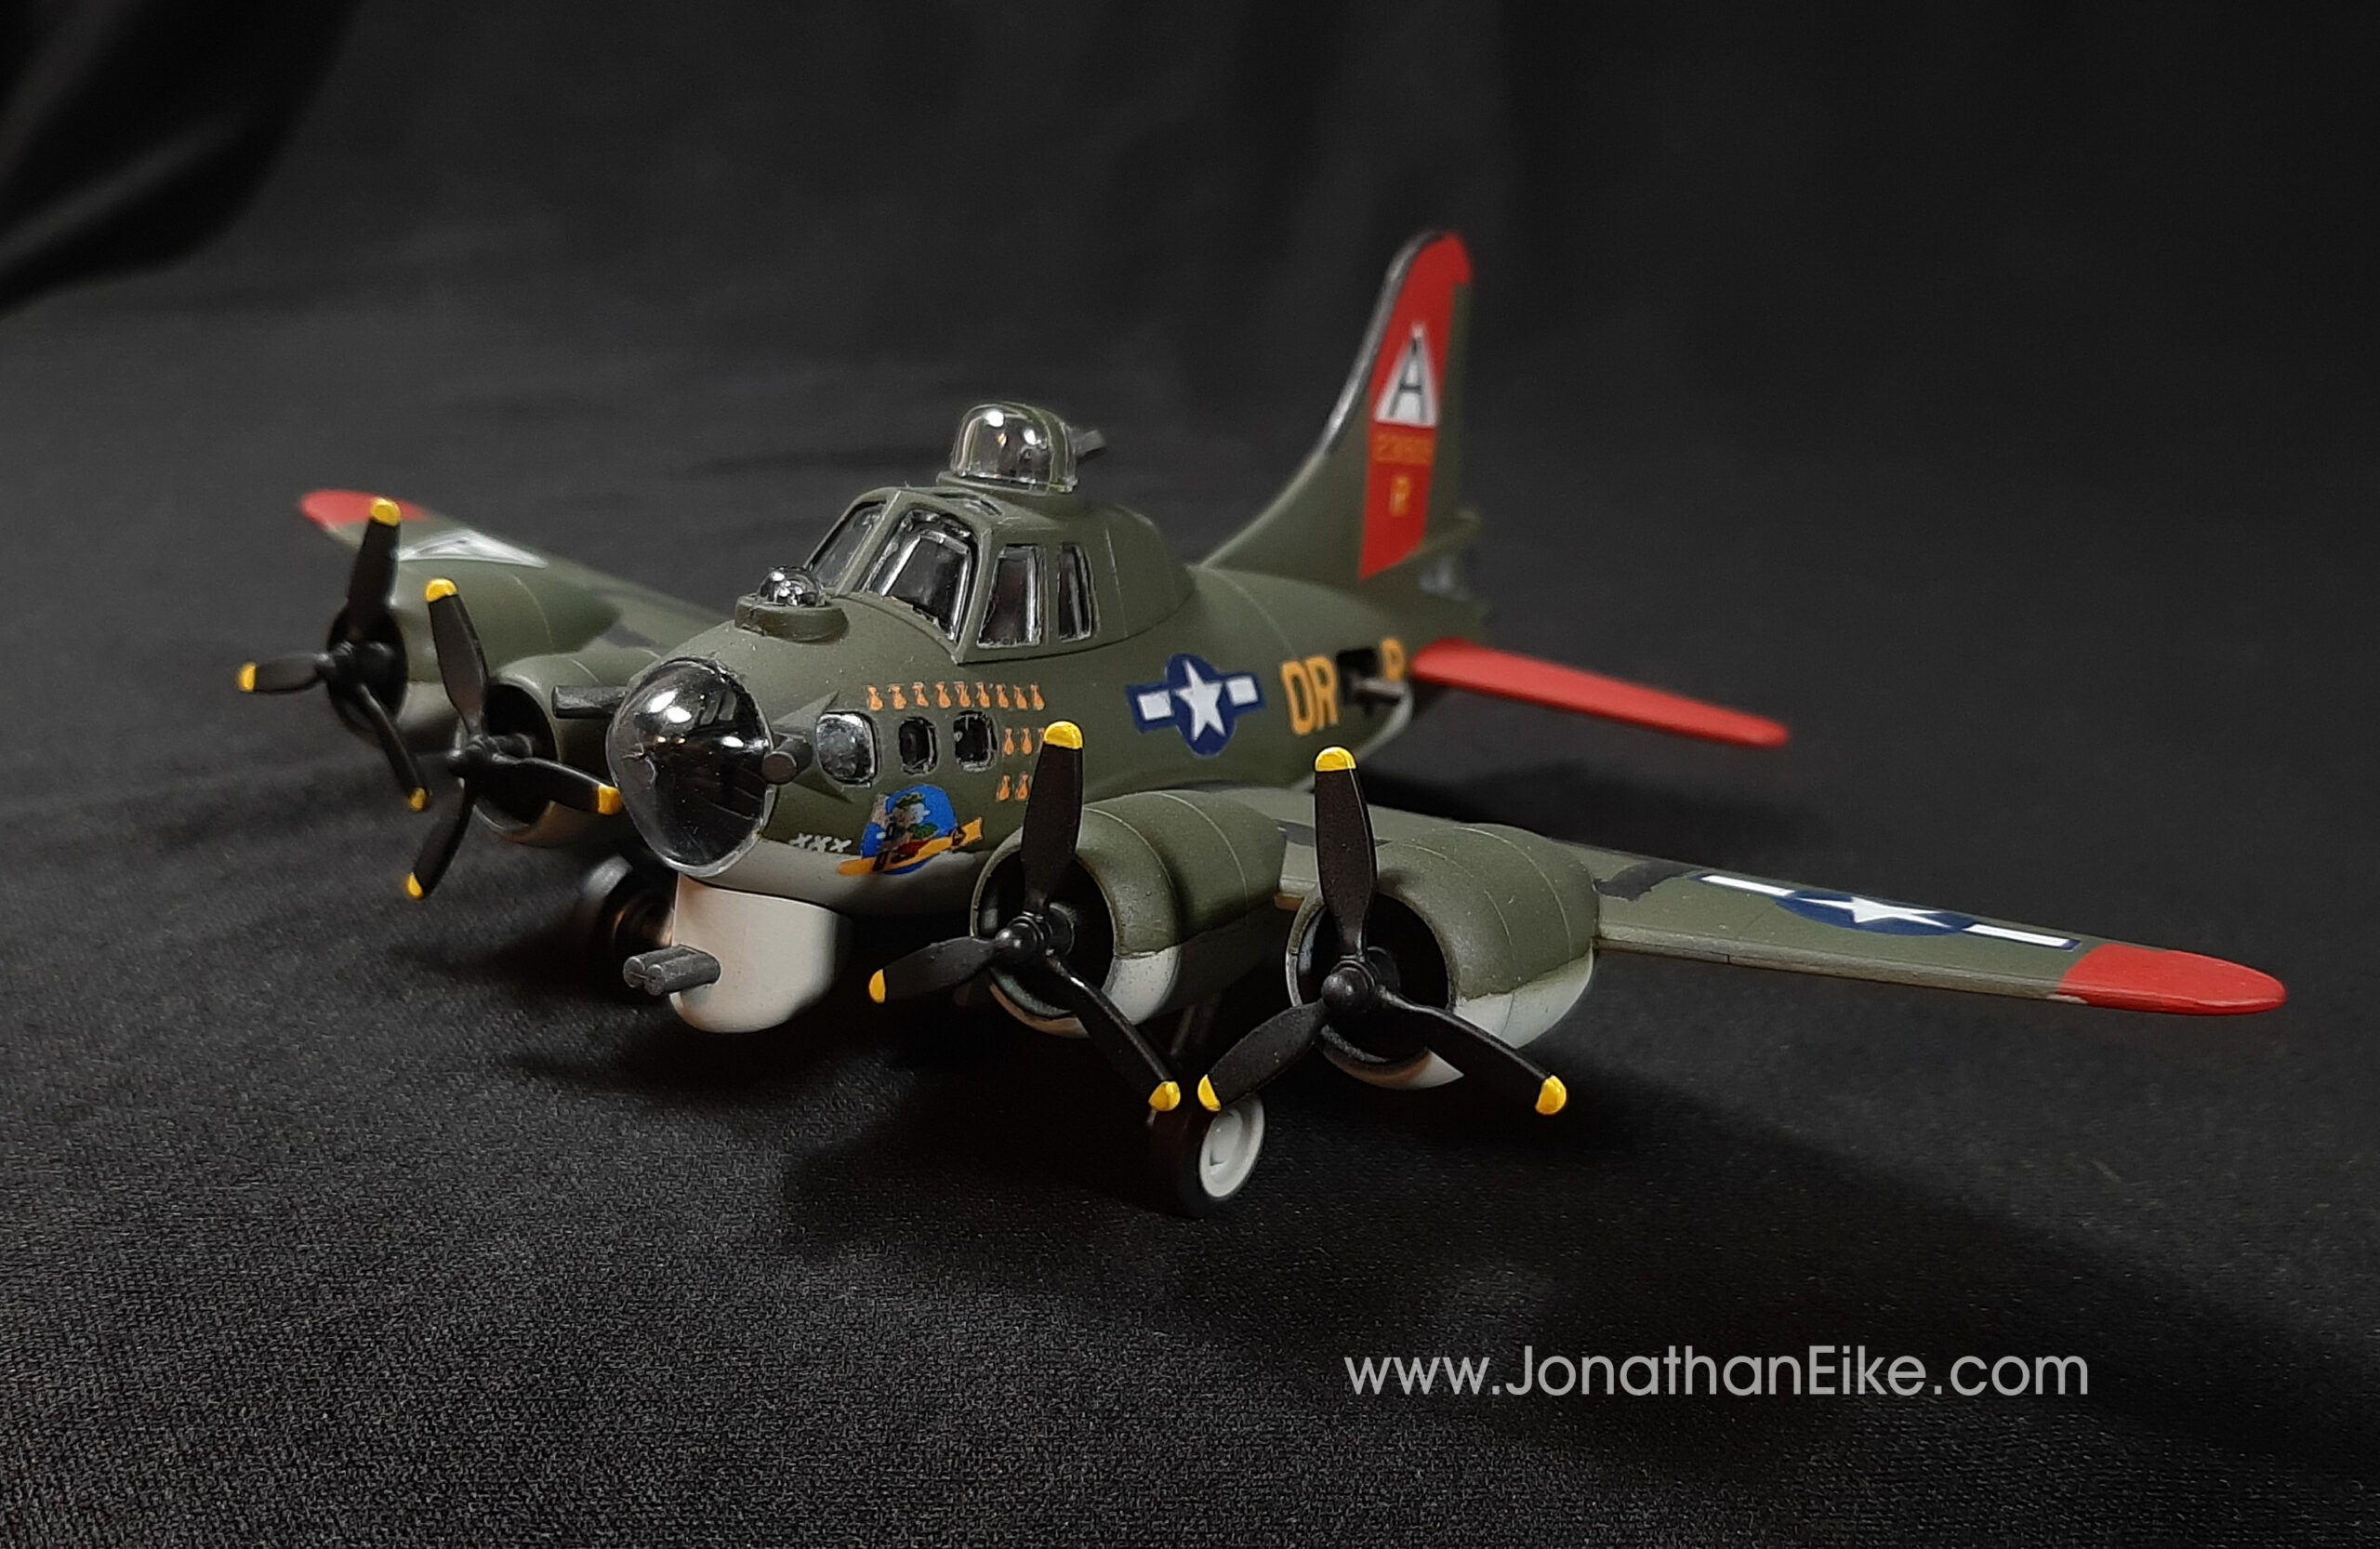
Meng Chibi B-17 “Nine-O-Nine”
I was gifted this kit some time ago and pulled it out after completing a long and involved project. It’s a snap together kit with kids in mind. Felt like an easy ‘clean the palette’ sort of weekend build. Opened up and discovered that the decals were stickers; THICK stickers! This would not do. So in addition to painting, I made up my own set of waterslide decals, based on scans from the sticker sheet. There were enough white and bright colored markings that I had to print on white decal paper. And instead of trying to color match the green to go around the markings; I opted to outlines and cutting the decals as close as I could. Anything else I missed with trimming was carefully painted over with the base colors.
Ashley’s Flamethrower
Bandai 1/12 Scale R2-A3
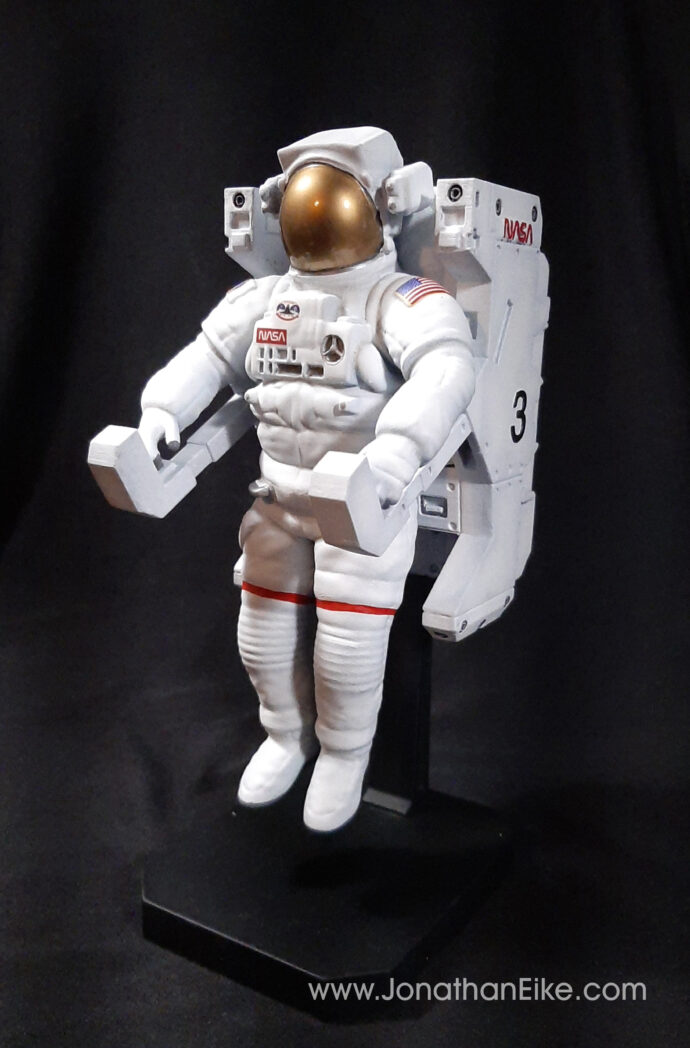
1/8 Scale MMU & Shuttle Astronaut
3D printed from a file designed by Max Grüeter on Thingiverse. One of my first prints after building my first printer. Model was optimized for FDM printing and many details were simplified because of that. Also, it was free. I applied a basic paint job with a little weathering/shading to help break up all of that white a little. Created decals for the STS-41-B mission.


